Our research team spends hundreds of hours per year reviewing the top auto warranty companies. Read below for custom content, videos, and analysis to make the right decision for your ride.
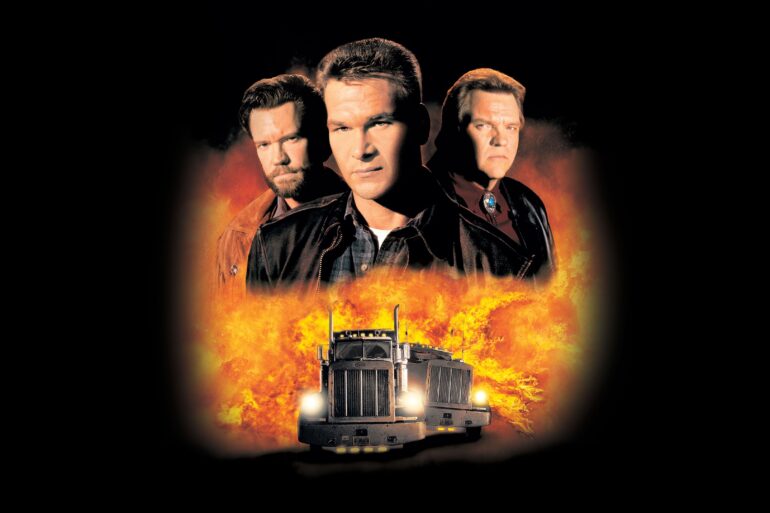
Veteran trucker Jack Crews (Patrick Swayze) reluctantly agrees to haul a shipment “off the books” but discovers a trailer full of illegal weapons as both federal agents and gangsters close in.