Back in the day, automakers used glass to create headlight lenses, and all was well. But over time as car designs became more complex, glass simply wouldn’t do anymore, as it couldn’t be shaped to match the lines of the vehicle. To fix this, automakers began using plastic or polycarbonate for headlights, which would conform to the correct shape, and was cheaper and lighter than the old glass units.
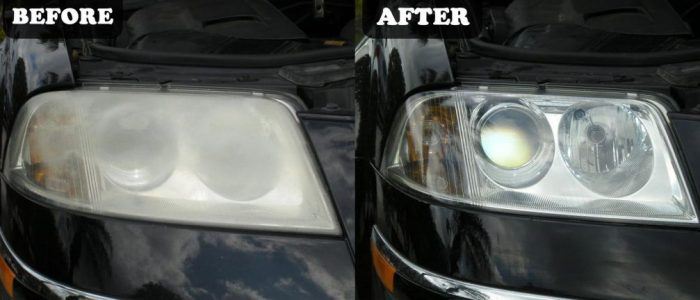
The downside to using plastic lenses is that over time, they turn yellow and cloudy from oxidation, UV rays, salt, road debris, and other factors. Most people assume that the problem is on the inside of the lens (and in some cases it is,) but what they don’t know is that most of the time you can take out the yellow and cloudy from the lens in under 5 minutes with a simple solution…
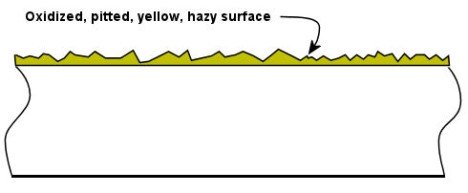
As you can see in the image above, the surface of the headlight becomes chipped, rough, and yellow from wear and tear over the years. All you need to do to restore the look and clarity is remove that layer. This not only helps make the overall appearance of the car look much better, but now that more light can pass through your lenses, safer at night as well.
Note: some headlights have accumulated moisture on the inside of the lens, and this method will not work to restore them. Look closely at the lens to determine if there is built-up moisture inside before proceeding.
To restore our headlights for cheap, we used Turtle Wax Headlight Lens Restorer Kit available at Amazon.com for only $10-$20. This kit includes the Lens Clarifying compound which might be all you need to fix the lenses, and for more serious clouding, a sandpaper kit and spray lubricant.
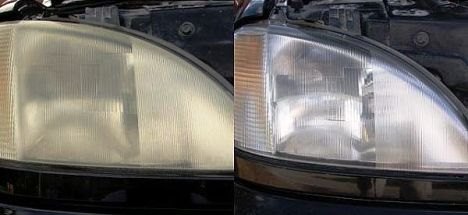
To start, just use some masking tape to protect the paint around the lens, then apply the lens compound to the headlight with a cotton cloth, making sure to push firmly. Let it dry for a minute, then use a clean terry cloth to remove the compound and viola! Most yellowed headlights are done.
If your lenses are still cloudy, you’ll need to take the spray lubricant and sandpaper pads out. The pads are numbered 1-4 based on grit level, with 1 being the roughest. Spray the lubricant on the lens and pad #1, then begin scrubbing ONLY the part of the lens that’s still cloudy. Work down to pad #4, then use the lens clarifying compound again. You should see significant improvement and clarity in the lens.
As you can tell, using a restoration kit is much cheaper than replacing the headlight, which costs hundreds of dollars. On some occasions, the lenses will be more damaged than a basic kit like this will be able to repair. In this case, you can use a more comprehensive (and more expensive) kit like the Symtech Headlight Resurfacing Kit or Headlight Magic Restoration Kit. If it’s even worse, you can contact a local headlight restoration company.
The Turtle Wax Headlight Lens Restorer Kit worked great for us, and I recommend it to others (in fact I ended up selling at least one kit to a passer-by while I was outside using it.) One thing to keep in mind about this solution is that the headlight needs UV protection to help keep it from being further damaged by the sun. This solution does not have UV inhibitor, so you should use a wax such as the Turtle Wax Ice Spray Wax to ensure your headlights stay clear. This wax is great to use on the rest of your car as well.